
Deploy Server With CyberHosting: CyberHosting offers you a very easy and few-click process to deploy a server. In the dynamic landscape of digital operations, deploying servers efficiently is crucial for seamless business processes. In this article, we will walk you through a step-by-step guide on deploying servers using Cyberhosting, a cutting-edge cloud service. Follow these instructions to harness the power of Cyberhosting for your computing needs.
Step 1:Access CyberHosting or Create an Account with CyberHosting:
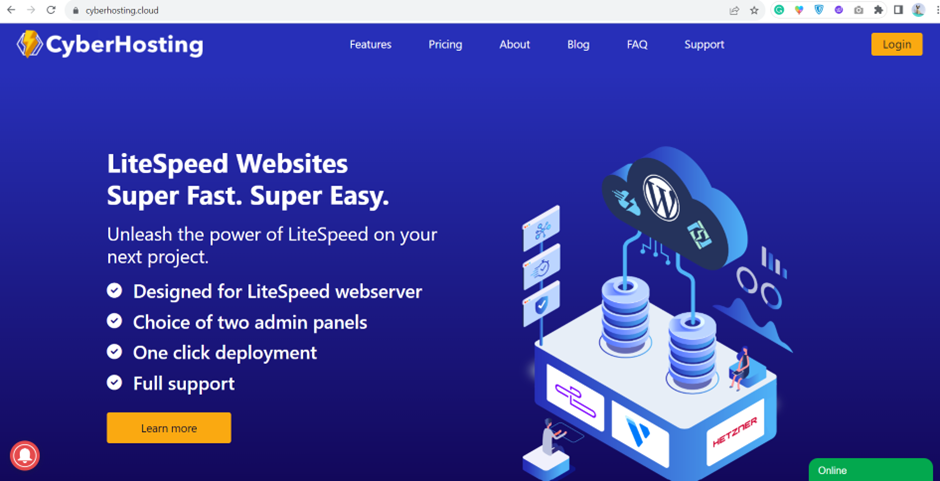
Accessing Cyberhosting Begin by navigating to the official Cyberhosting website at cyberhosting.cloud.
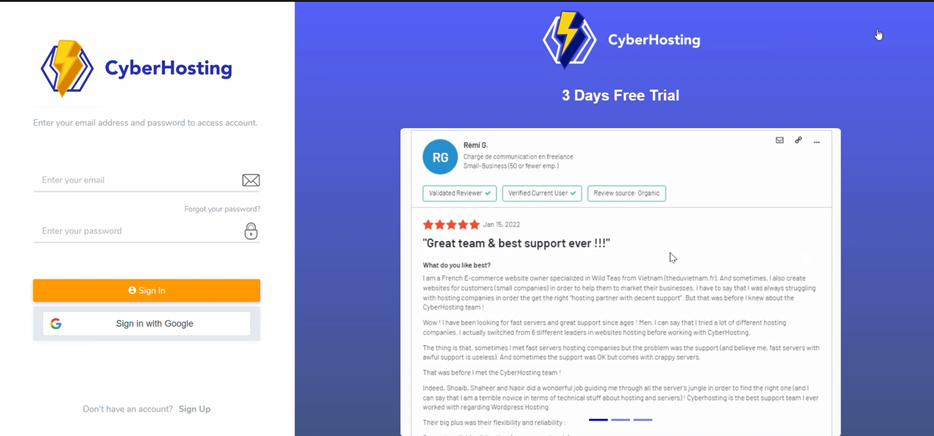
To streamline the login process, use your Google account credentials.
Step 2: Settings:
Logging In Once on the Cyberhosting platform, log in using your Google account. This step ensures a secure and user-friendly authentication process.
Step 3: Deploy Server With CyberHosting
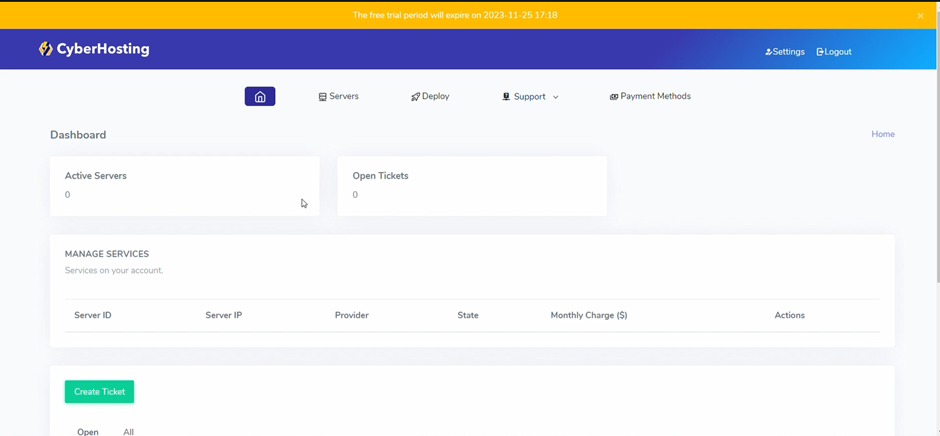
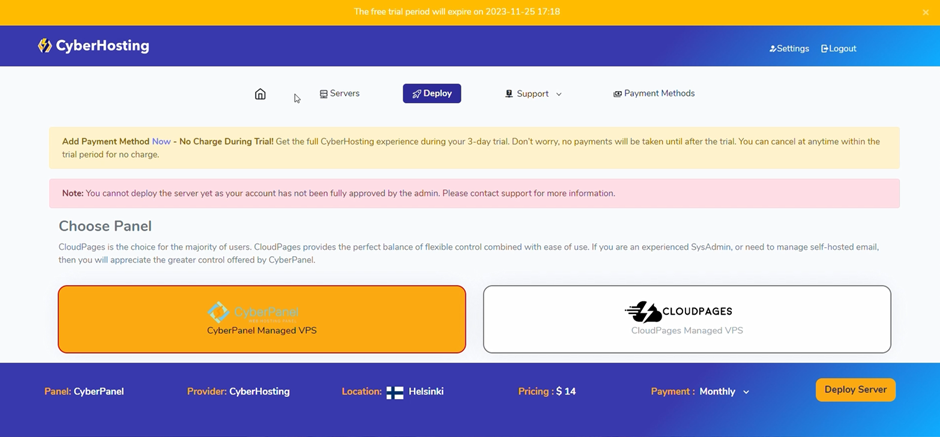
Initiating Deployment Upon successful login, locate and click on the “Deploy” option. A prompt will appear, indicating the necessity of adding a payment method to access the trial version of the service.

Step 4: Adding Payment Method:
Follow the prompt by adding a payment method. This step is essential for gaining access to the trial version of Cyberhosting.
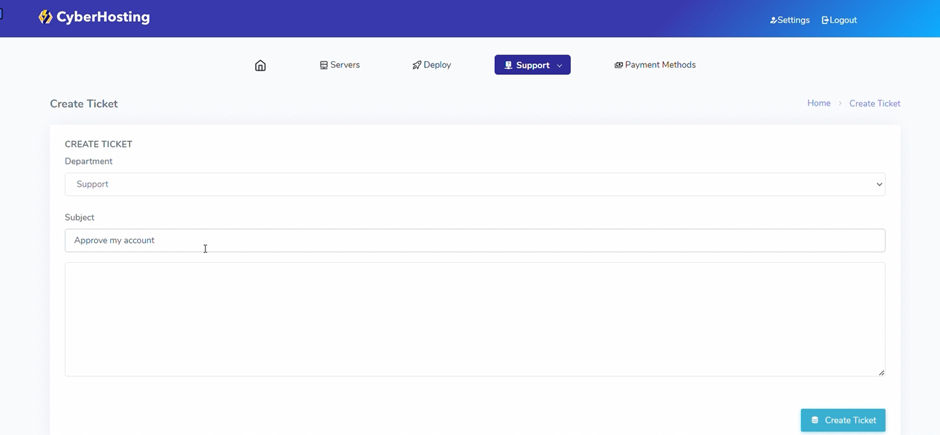
Step 5: Requesting Account Approval:
After adding the payment method, navigate to the support section. Create a ticket requesting approval for your account, explicitly mentioning that you’ve added a payment method. This step is necessary for account verification and access to advanced features.

Step 6: Account Approval:
Once your account is approved by our support team, you will gain the ability to deploy a server.
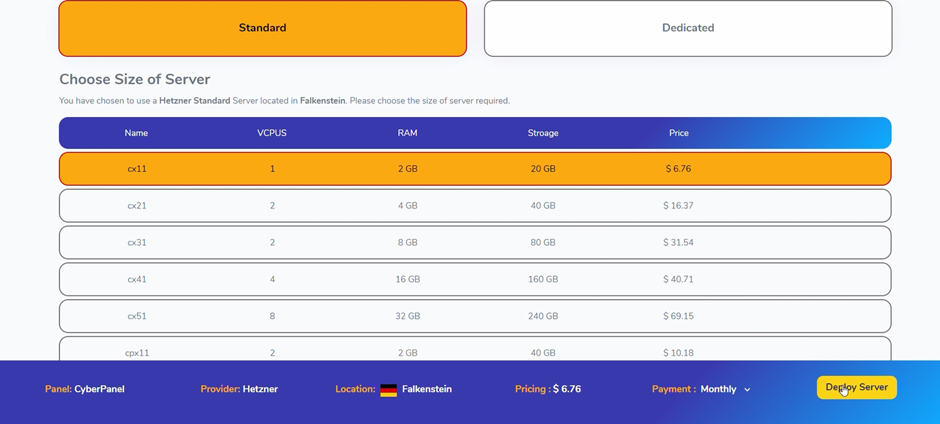
Step 7: Deploying Your Server:
To deploy a server, go to the “Deploy” section. Choose your preferred plan based on your requirements and click on the deploy button. This initiates the server deployment process.
Step 8: Waiting for Deployment:
The server deployment process may take a few minutes. Relax as Cyberhosting efficiently sets up your server infrastructure.
Step 9: Accessing Your Server:
Upon completion of the deployment process, access your server by clicking on the “Manage” button. This will lead you to a user-friendly interface where you can configure and manage your server settings.
Conclusion:
Congratulations! You have successfully deployed a server using Cyberhosting. This step-by-step guide ensures a smooth and secure deployment process, allowing you to leverage the capabilities of Cyberhosting for your digital endeavors. Embrace the power of efficient server deployment to enhance your business operations.