Website security is always a fundamental and important part of any website, especially WordPress. Today we will see how to enable full/advanced Wordfence protection on OpenLiteSpeed.
If you are using LiteSpeed Enterprise you don’t need to do anything as it is fully Apache compatible so Wordfence’s full protection will work out of the box. So you can stop now and enjoy your coffee.
However, if you are using OpenLiteSpeed then go ahead, make sure to use OpenLiteSpeed with CyberPanel, and ease your life.
What is WordFence?
Wordfence is one of the most popular WordPress scanner and firewalls. Wordfence comes in both free and premium versions. Wordfence has enough features to secure your websites like endpoint firewall, malware scanner, malicious IP addresses detection, 2FA, and all. In short, Wordfence is the most comprehensive WordPress security solution available. Wordfence is enough to secure your site.
Why do we need to configure OpenLiteSpeed for full Wordfence protection?
Setting up WordFence is a bit tricky in the case of OpenliteSpeed. With OpenLiteSpeed, you have to do some manual settings. In this article, we will discuss how to configure Wordfence with OpenliteSpeed to enable advanced firewall options.
Enable full Wordfence protection on OpenLiteSpeed:
- Install Wordfence on your WordPress site.
- Edit Vhost Configuration for Wordfence.
- Enable full Wordfence protection with CyberPanel.
Install Wordfence on your WordPress site:
The installation of Wordfence on your WordPress site is just like the installation on any plugin. Follow along the steps to install Wordfence.
Setp 1: Install Wordfence Plugin:
To install WordFence on your WordPress site first log in to your admin dashboard:
Go Plugins->add New
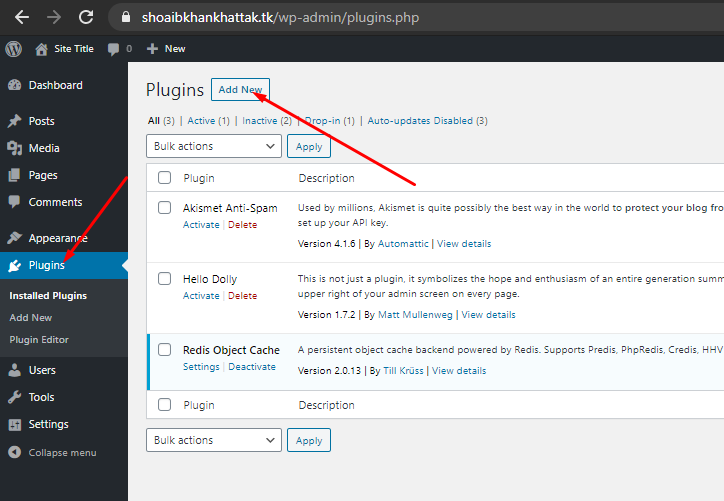
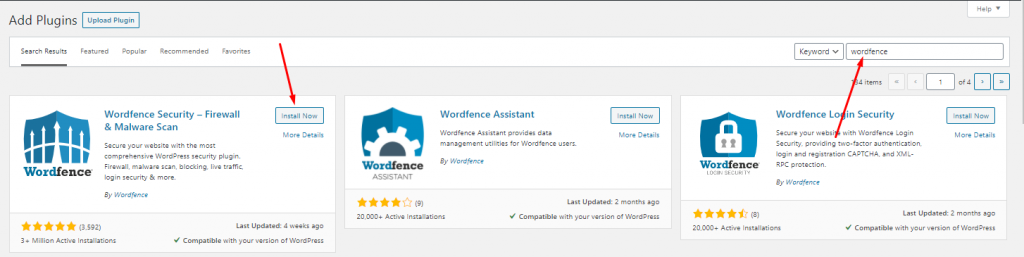
Now search Wordfence in the search bar, You will receive the results for Wordfence select the first one (The one with the Wordfence logo) and Click install.
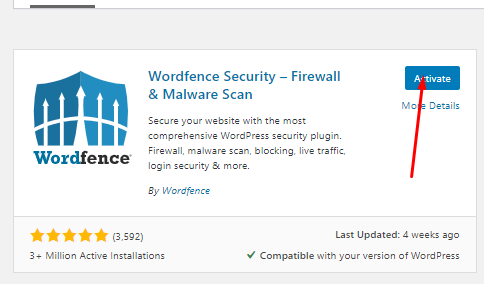
Setp 2: Setup Wordfence Plugin:
Once installation is done click Activate to activate the plugin:
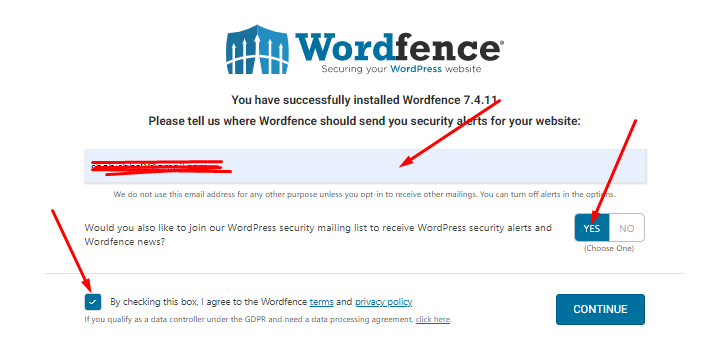
After activation, they will ask you for an email address where they sent you emails regarding your website. Provide your email, click yes if you want to receive emails, check the box for agreement and press continue.
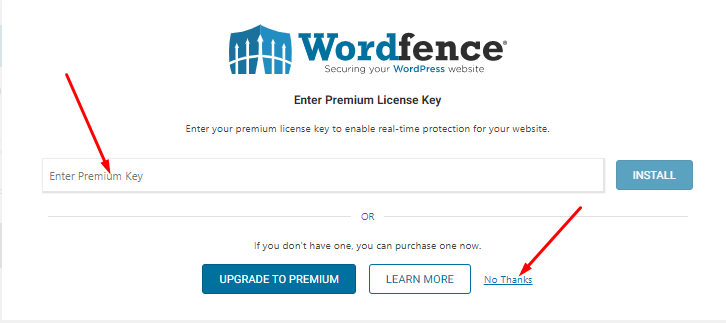
If you have a premium version enter the key here otherwise click on thanks and use the free version.
Now your Wordfence is installed and good to go. You can see the Wordfence on the left menu. When you click that you will see a notice to configure full/extended Wordfence protection.
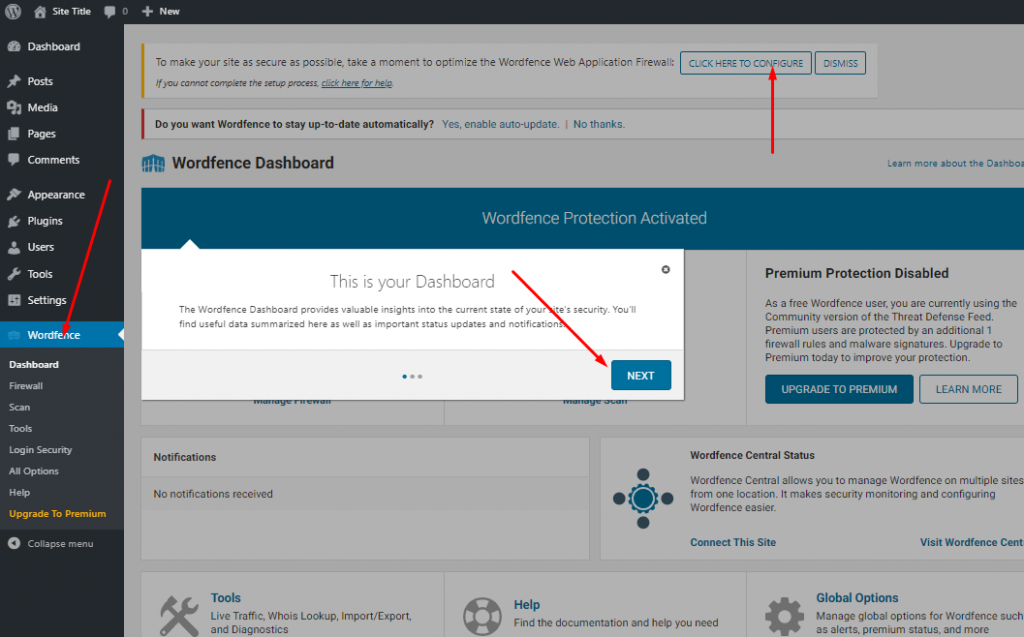
Once you click the configuration a prompt appears that asks to download the .htaccess file. Click on download and press continue.

In the case of LiteSpeed Ent. configuration is done out of the box but in the case of OpenLiteSpeed, we’ve to perform some additional steps that we will discuss below. I found an official video guide for you to install Wordfence you can check that also.
Edit Vhost Configuration for Wordfence:
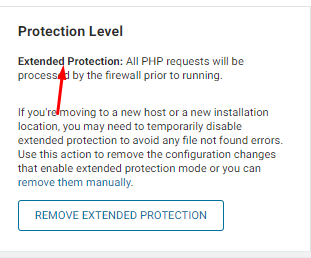
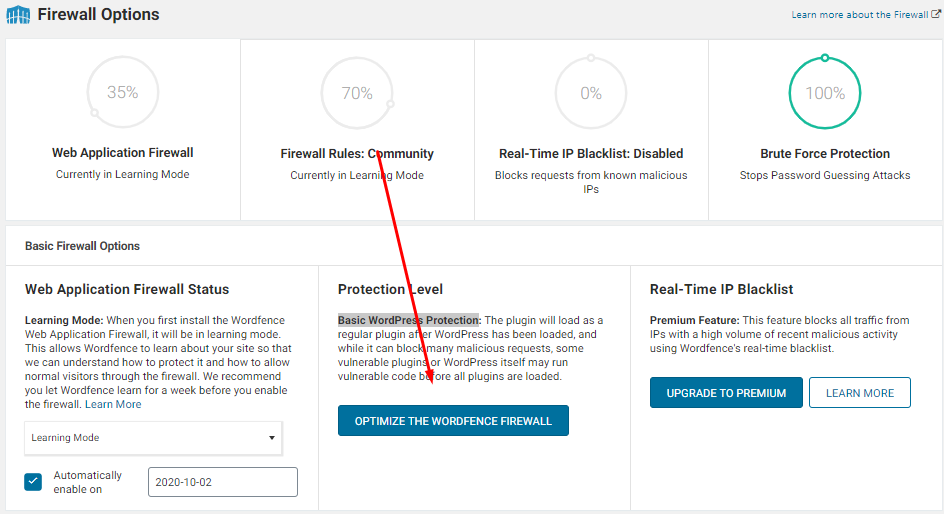
For OpenLiteSpeed you have to configure the Wordfence to enable Advanced WordPress Protection. Without setting these configurations to OpenLiteSpeed you can see that there is the Basic WordPress Protection.
To enable the advanced protection you have to access the OpenliteSpeed web server dashboard by navigating https://<your_ip>:7080. In the OpenLiteSpeed web, server Dashboard go to the VHost -> General
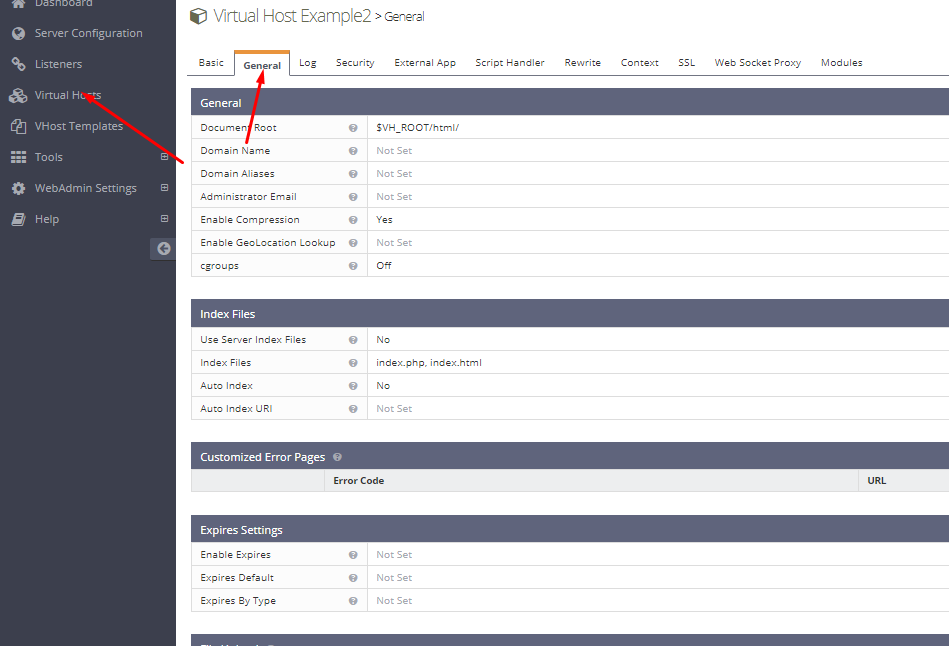
Go the end of page you will find the php.ini overwrite click the edit button.

add this to php.ini overwrite
php_value auto_prepend_file /path/to/wordfence-waf.php
Most Common path if you created site from cyberpanel
php_value auto_prepend_file /home/example.com/public_html/wordfence-waf.php
If you added the domain with CyberPanel then first you have to find the path of the wordfence-waf.php file. After adding this graceful restart the OpenLiteSpeed with this server did not get the changes.
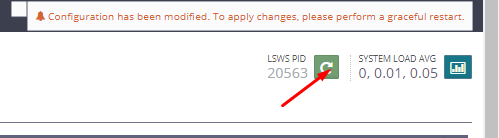
Once done go back to your WordPress site and check the firewall you can see the Extended Protection level there.

Instead of doing this from the OpenLiteSpeed, you can install CyberPanel on your OpenLiteSpeed server, and then there is an easy way to do this. I will describe that in the next step.
Enable advanced firewall with CyberPanel.
When you have the CyberPanel installed on your server to manage your site you can follow the guide stated above but in this part of the article, I will tell you a simple way to do this using CyberPanel. To enable an extended or advanced level of protection using CyberPanel, you have to log in to CyberPanel using your credentials.
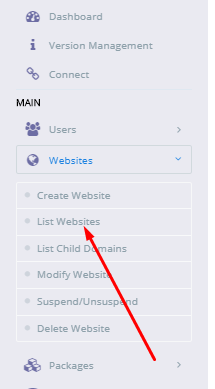
From you CyberPanel Dashboard go to the Websites ->list websites
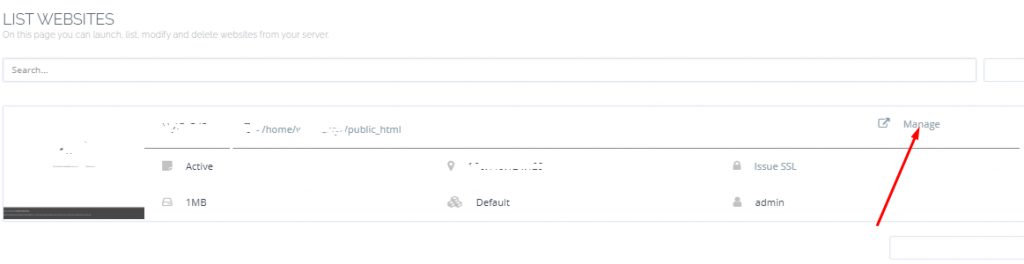
You can see all of your websites there Click on the Manage button. To open the website dashboard.
Once the manage Dashboard for the web site is opened go to the configuration part and click the VHost

Go to the php.ini section
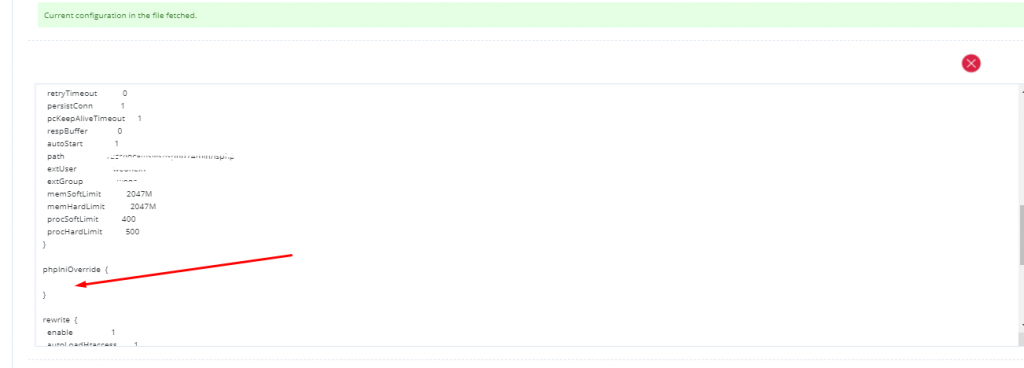
Add the following line to enable the extended protection.
php_value auto_prepend_file /home/example.com/public_html/wordfence-waf.php
Now your extended protection is enabled .